Simulator
Test Board input in the Unity Editor without hardware.
Overview
The Board Input Simulator replicates Piece and finger interactions inside Unity. Place, move, touch, lift, and rotate virtual Pieces using mouse and keyboard. The simulator generates the same input events as real hardware, enabling rapid iteration without deploying to a device.
Opening the Simulator
Open the simulator from Unity’s menu bar:
Board > Input > Simulator

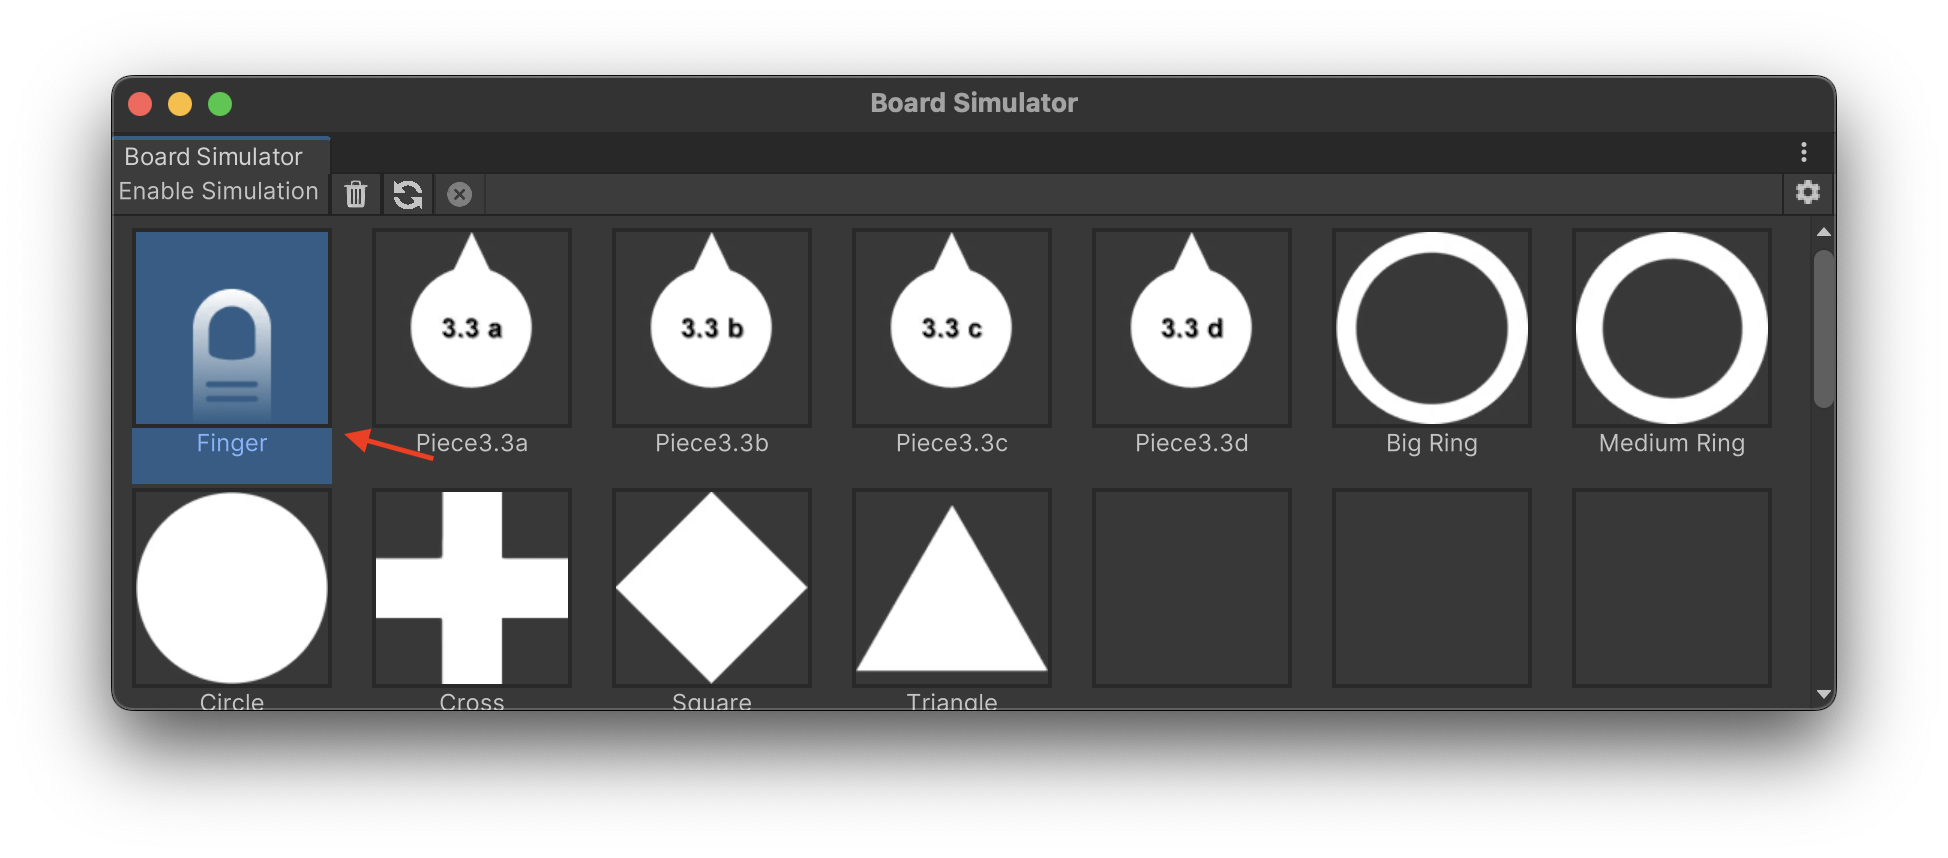
The simulator window displays a palette of icons representing fingers and Pieces.
Enabling Simulation
Toggle the Enable Simulation button in the simulator toolbar. You can enable simulation before or during Play mode.
When enabled, clicking icons in the palette and interacting in the Game view generates BoardInput events via BoardInput.GetActiveContacts().
Simulator Toolbar

| Button | Function |
|---|---|
| Enable Simulation | Toggle simulation on/off |
| Trash | Clear the selected icon slot (doesn’t delete the asset) |
| Reset | Reset the icon palette to defaults |
| Clear | Remove all simulated contacts from the scene |
| Settings | Open simulator settings |
Placing Contacts
Select an Icon
Click an icon in the simulator palette. The icon represents either a finger or a specific Piece. Selecting an icon puts you in Placement Mode.
Place the Contact
In Placement Mode, a preview of the icon follows your mouse in the Game view. Click anywhere in the Game view to place the contact.

Placing generates a Began event in the input system. After placing, you exit Placement Mode. Repeat to place additional contacts.
You can place up to 1000 contacts simultaneously.
Cancel Placement
To exit Placement Mode without placing:
- Click the icon again in the simulator palette
- Press Escape
Lifting Contacts
To remove a placed contact:
- Left-click directly on the contact in the Game view
- This generates an
Endedevent - You enter Placement Mode with that contact
You can then place it elsewhere or press Escape to discard it.
Moving Contacts
Touch and Drag
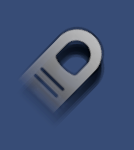
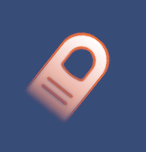
- Press and hold the left mouse button on a placed contact
- The contact visual changes to indicate it’s being touched
- Drag to move the contact
- This generates
Movedevents
Touch State
While holding the mouse button on a contact:
- The contact’s
isTouchedproperty becomestrue - Moving generates position updates
- Releasing the mouse returns
isTouchedtofalse
Rotating Contacts
Rotate contacts while placing or moving them:
| Control | Action |
|---|---|
| Mouse scroll wheel | Rotate freely |
| Shift + scroll wheel | Rotate faster |
| + key | Snap rotate clockwise |
| - key | Snap rotate counterclockwise |
Rotation generates orientation updates in the contact data.
Adding Custom Icons
Create custom icons to represent your game’s Pieces:
Create an Icon Asset
- Right-click in the Project window
- Select Create > Board > Simulation > Icon
- Configure the icon properties
Icon Properties
| Property | Description |
|---|---|
| Display Name | Name shown in the simulator palette |
| Contact Type | Finger or Glyph |
| Glyph ID | Which Piece this represents (Glyph type only) |
| Sprite | The visual for the icon |
| Size | Render size relative to 1920×1080 |
| Alpha Hit Test Minimum Threshold | Minimum alpha for click detection (sprite must be Read/Write if > 0) |
Add to Palette
Drag your custom icon onto any slot in the simulator palette.
Your palette configuration is saved in UserSettings/BoardInputSimulationIconPalette.asset.
Simulator Settings
Access settings via:
- The gear icon in the simulator toolbar
- Edit > Project Settings > Board > Simulation Settings
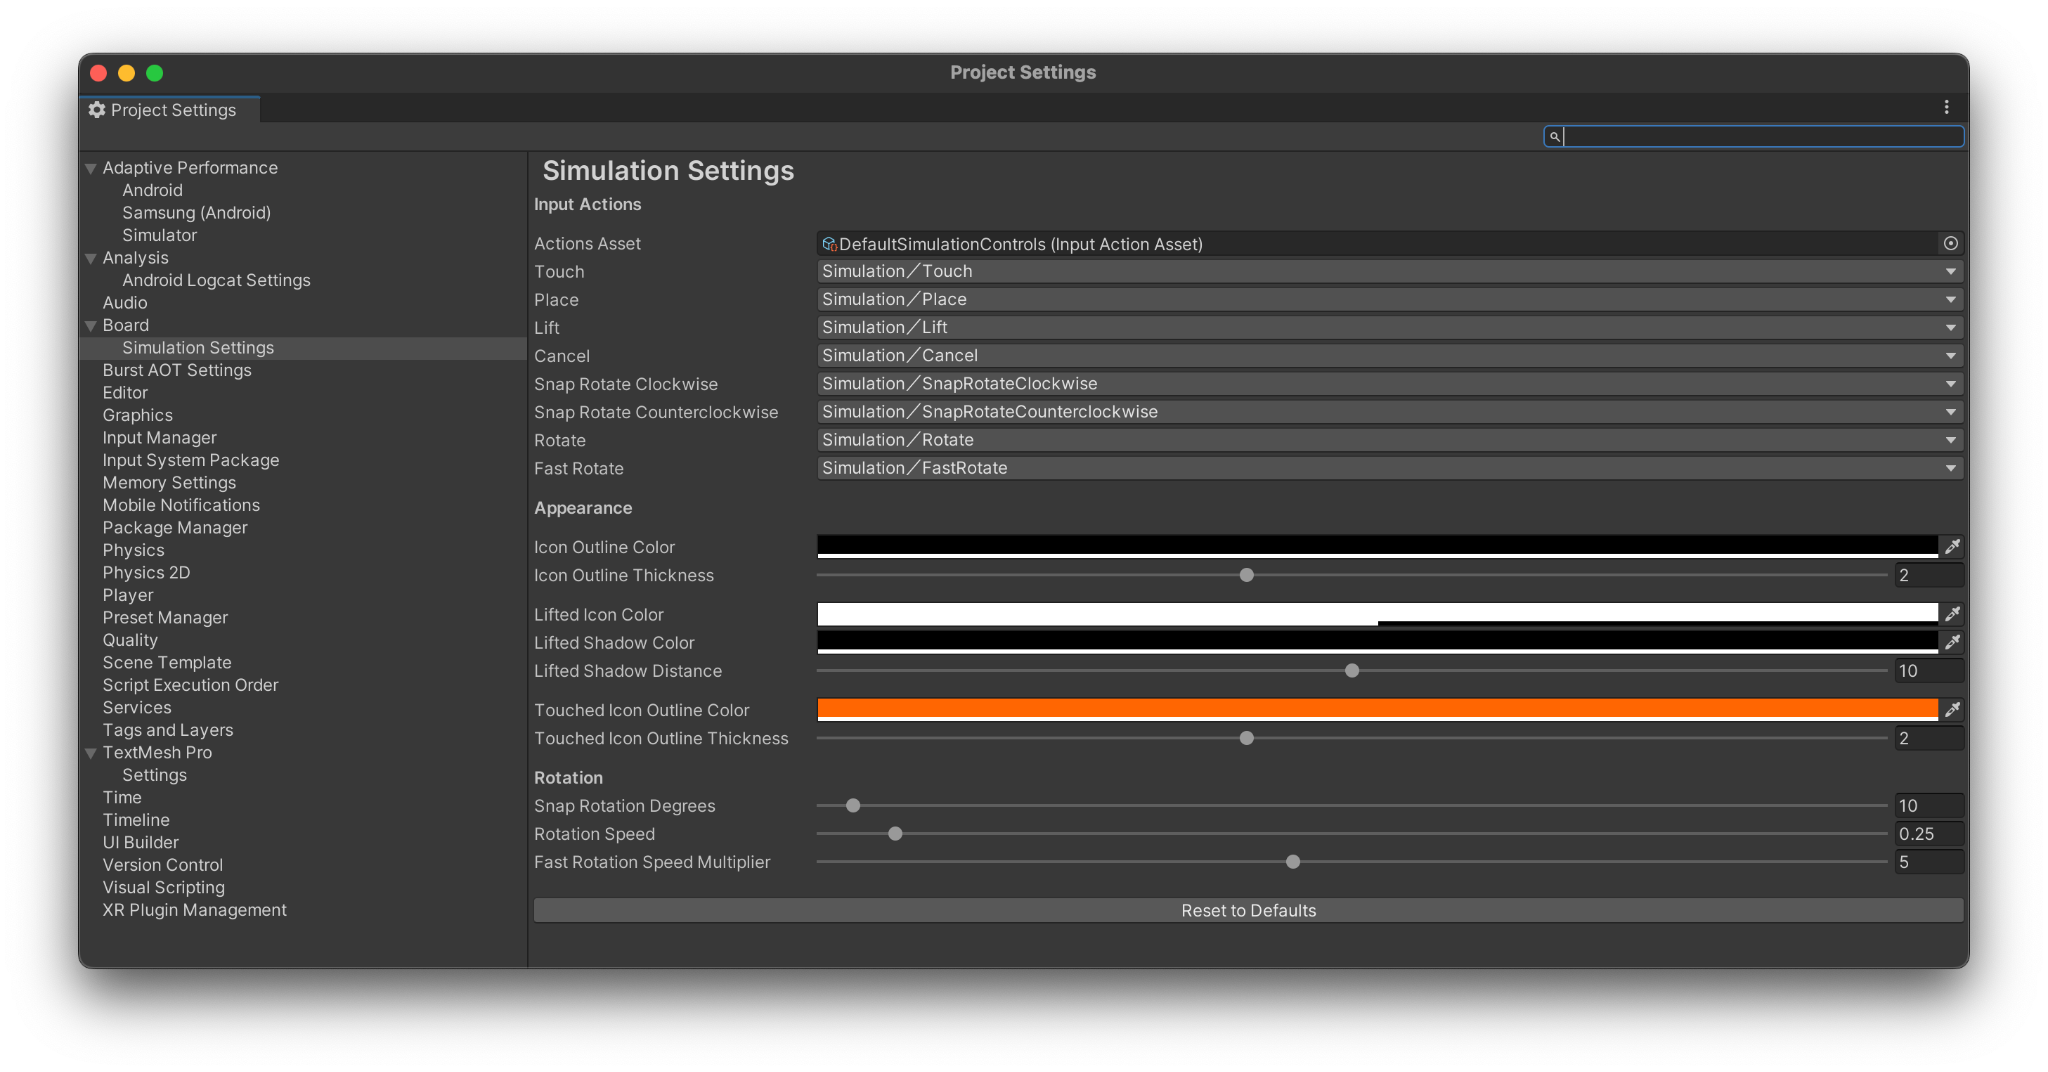
Input Controls
The simulator uses Unity’s Input System for controls. You can customize these by providing a different Input Actions asset.
| Control | Default | Description |
|---|---|---|
| Touch | Left mouse button (hold) | Touch a placed contact |
| Place | Left click | Place a contact |
| Lift | Left click on contact | Lift a contact |
| Cancel | Escape | Exit placement mode |
| Snap Rotate CW | + key | Rotate clockwise by fixed amount |
| Snap Rotate CCW | - key | Rotate counterclockwise |
| Rotate | Scroll wheel | Rotate freely |
| Fast Rotate | Shift + scroll | Rotate quickly |
Appearance Settings
| Setting | Description |
|---|---|
| Icon Outline Color | Outline color when not touched |
| Icon Outline Thickness | Outline thickness when not touched |
| Lifted Icon Color | Color when simulating lifted state |
| Lifted Icon Shadow Color | Shadow effect color |
| Lifted Icon Shadow Distance | Shadow offset distance |
| Touched Icon Outline Color | Outline color when touched |
| Touched Icon Outline Thickness | Outline thickness when touched |
Rotation Settings
| Setting | Description |
|---|---|
| Snap Rotation Degrees | Degrees per snap rotation |
| Rotation Speed | Free rotation speed |
| Fast Rotation Speed Modifier | Multiplier for fast rotation |
Reset to Defaults
Click Reset to Defaults to restore original settings. This doesn’t delete custom Input Actions assets.
Settings are saved in UserSettings/BoardInputSimulationSettings.asset.
Workflow Tips
Testing Without Hardware
- Enable simulation before entering Play mode
- Place Pieces where your game expects them
- Test touch interactions by holding and dragging
- Verify rotation detection with scroll wheel
Matching Real Hardware
The simulator generates identical BoardContact events to real hardware. Use it to:
- Develop core gameplay before hardware arrives
- Iterate quickly on touch interactions
- Test edge cases (many contacts, rapid rotations)
- Debug contact phase handling
Simulating Fingers
Include finger icons in your palette for testing:
- Button presses and UI interaction
- Multi-touch gestures
- Combined Piece + finger interactions
Limitations
The simulator can’t replicate everything:
- ML model behavior - Simulator uses configured glyph IDs directly; it doesn’t run the ML model
- Noise rejection - Simulator doesn’t generate false contacts that would be filtered on hardware
- Touch precision - Mouse input differs from finger/Piece contact patterns
- Performance - Desktop performance doesn’t match device performance
Always test on real hardware before release.
See Also
- Touch Input - Handle contact events
- Hardware - Board hardware specifications
- Build & Deploy - Test on real hardware